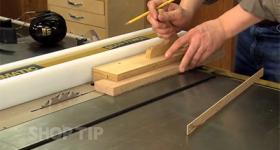
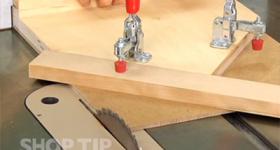
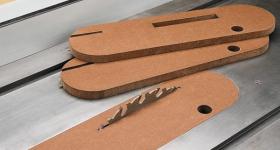
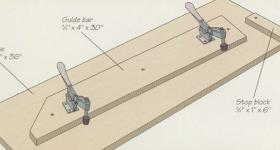
앞서 테이퍼지그는 조기대를 기준으로 한 지그라면 마이터슬롯을 이용한 썰매방식의 테이퍼지그 입니다.
간혹 각도가 들어가는 작업할 때 가이드 부재를 대충 잘라 클램프로 고정해 놓고 자르곤 합니다.
위험한 상황이 생길 수도 있기에 꼭 필요한 지그라 생각됩니다.
부재의 폭과 각도를 다양하게 적용할 수 있어 매우 유용할 것 같습니다.
Triumph over tricky tapers with your tablesaw
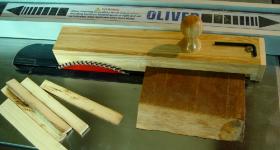
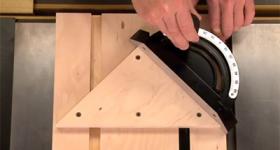
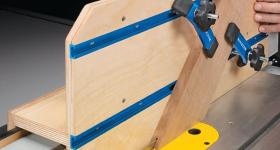
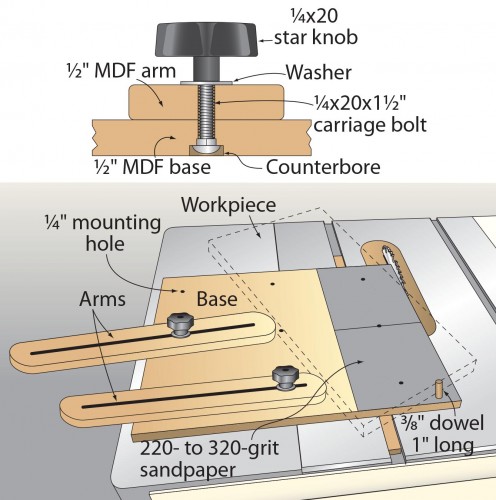
To cut a taper in a large panel, I always turned to my portable circular saw and a clamped-on guide. But that clumsy set-up rarely yielded the cut quality or accuracy I wanted. So instead, I designed and built this panel tapering jig for use on a tablesaw.
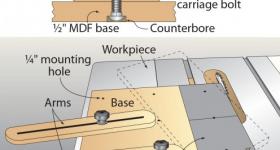
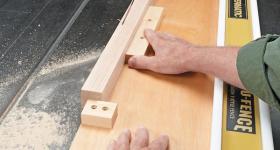
Adjust the two arms by tightening or loosening the 1⁄4″-20 star knobs that hold them in place, and remount them in different holes if necessary. A 1″ length of 3⁄8″ dowel mounted to the jig’s rear corner (where shown) backs and supports the workpiece, and 220- to 320-grit sandpaper on the face of the jig near the blade prevents the workpiece from shifting during a cut. Drill a grid of 1⁄4″ holes in the jig’s base so the jig’s arms can be moved to fit a range of workpiece sizes.
To use the jig, first lay out the taper on your workpiece. Align the layout line with the blade, butting the workpiece against the 3⁄8″ dowel, adjust the jig’s arms to support the workpiece, and make the cut.
—Serge Duclos, Delson, Que.
테이블 톱으로 까다로운 각도가공을 극복하십시오.
큰 패널의 각도를 가공하기 위해 나는 항상 휴대용 원형 톱과 고정식 가이드를 이용했습니다. 그러나 그 어설픈 설치는 내가 원하는 절단 품질이나 정확성을 거의 얻지 못했습니다. 그래서 저는 테이블 톱에 사용할 패널 테이퍼링 지그를 디자인하고 제작했습니다. 2개의 암을 고정하는 1⁄4"-20 스타 노브를 조이거나 풀어 조정하고 필요한 경우 다른 구멍에 다시 장착합니다. 지그의 후면 모서리(그림 참조)에 장착되는 3⁄"8 길이의 도웰(Dowel)은 부재를 지지하며, 톱날 근처의 지그 표면에 220 ~ 320방의 사포로 부재가 절단되는 동안 움직이지 않도록 합니다. 지그의 Base에 1⁄4" 크기의 구멍을 뚫어 다양한 부재 크기에 맞게 지그의 암을 이동할 수 있도록 합니다. 지그를 사용하려면 먼저 부재에 각도를 표시하십시오. 3⁄8" 도웰에 부재를 맞닿게하고 부재를 지지하도록 JIG의 암을 조정한 후 절삭합니다. —Serge Duclos, Delson, Que.

