테이블이나 의자 다리에 기울기를 줄 경우 밴드쏘나 슬라이딩쏘를 이용해 눈대중으로 가공하곤 하는데 감으로 하다보면 정밀하지 못하고 때로는 가공작업에 위험도도 높아집니다.
이번 주 우드스미스팁은 좀 더 안전하게 각도 작업을 할 수 있는 노하우이군요. 물론 지그 만드는데 시간이 좀 더 들겠지만 그래도 안전목공이 가장 중요하니까..
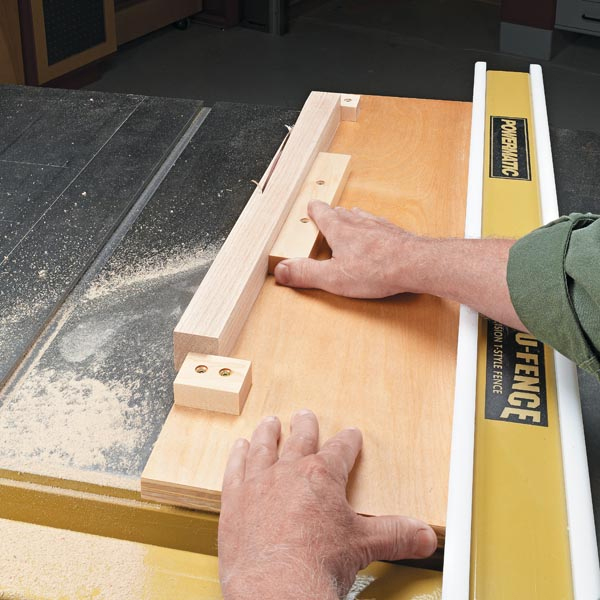
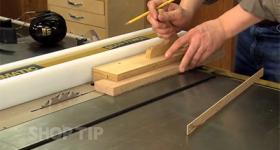
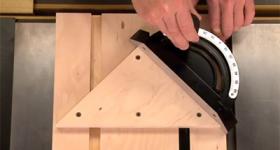
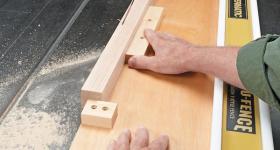
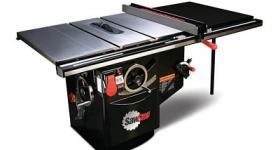
When it comes to accurate tapers, it’s tough to beat the table saw. The only drawback is that it requires a jig, or sled, to carry the workpiece through the blade at the proper angle. One of the simplest approaches is the sled you see here.
정확한 용지에 관한 한, 테이블쏘를 이기기는 어렵습니다. 유일한 단점은 공작물을 적절한 각도로 블레이드를 통과시키기 위해서는 지그 또는 썰매가 필요하다는 것입니다. 가장 간단한 접근법 중 하나는 여기 보이는 썰매입니다.
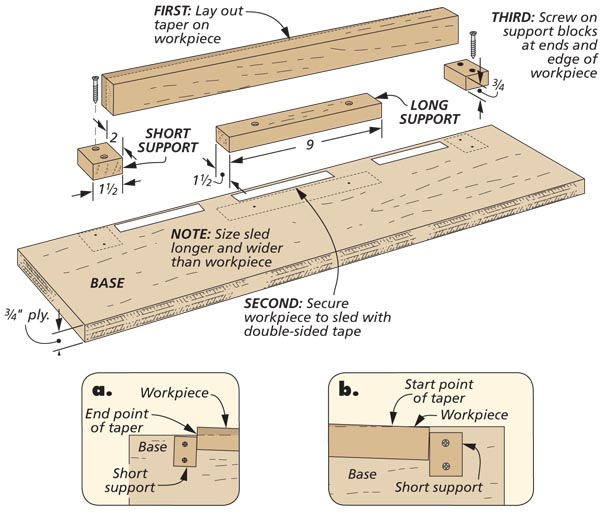
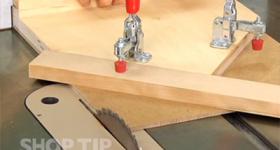
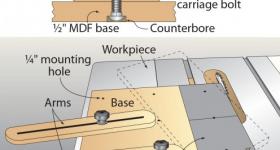
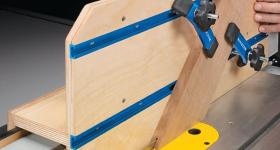
It’s just a base that rides between the blade and rip fence. Three support blocks secure the workpiece at the proper angle.
To set up and use the sled, start by marking each end of the taper on the workpiece. Align the marks with the edge of the base, and press it firmly in place over strips of double-sided tape.
Then add the support blocks to the front, back, and side of the workpiece with screws.
그것은 칼날과 찢어진 울타리 사이를 달리는 밑바닥일 뿐입니다. 세 개의 지지 블록이 공작물을 적절한 각도로 고정합니다.
썰매를 설치하고 사용하려면 공작물에 테이퍼의 각 끝을 표시하는 것부터 시작하십시오. 표시를 베이스 가장자리와 정렬하고 양면 테이프의 스트립 위에 단단히 눌러 놓습니다.
그런 다음 지지 블록을 나사로 공작물의 전면, 후면 및 측면에 추가합니다.
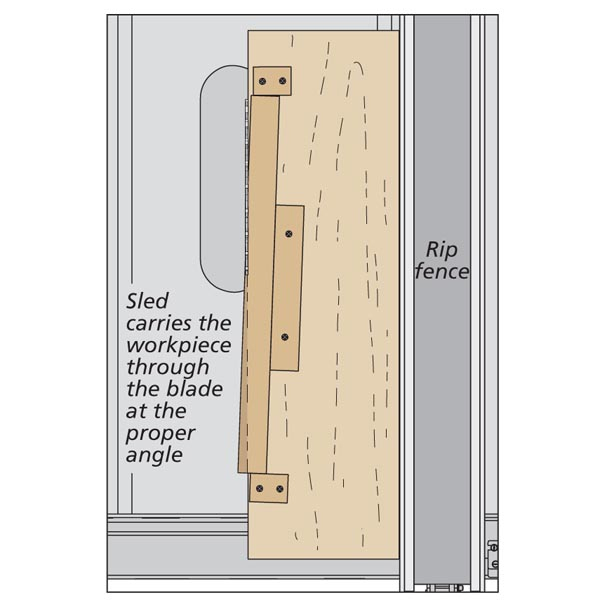
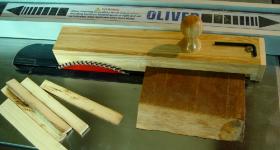
Now all that’s left is to position the rip fence so the edge of the sled is even with the blade. A glue line rip blade leaves a smooth surface. So it only takes a few passes with some sandpaper for a clean, smooth taper.
이제 남은 것은 썰매의 가장자리가 칼날과 고르게 하기 위해 찢어진 울타리를 세우는 것입니다. 글루 라인 리핑 블레이드는 매끄러운 표면을 남깁니다. 따라서 깨끗하고 매끄러운 테이퍼를 위해 사포로 몇 번 통과하기만 하면 됩니다.

