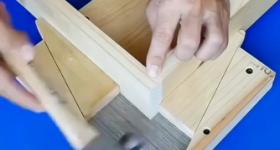
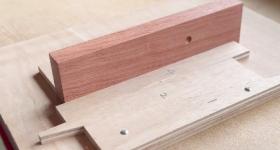
핸드메이드 높이게이지 제작 영상입니다.
모양은 살짝 멜랑꼴리 하지만 디자인은 얼마든지 변형해도 될 것 같네요.
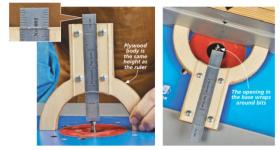
이 게이지의 핵심은 사용하는 철자와 높이를 일치하게 하든지 아니면 전면 아크릴에 0점 눈금을 표기해 눈금을 읽기 편한 높이로 만들어 허리를 많이 숙이지 않게 하는 것이 포인트 같습니다.
다만, 좀 더 보강을 해야한다고 생각되는 부분은 두께를 좀 더 두껍게 해야 게이지가 잘 넘어지지 않을 것 같습니다.
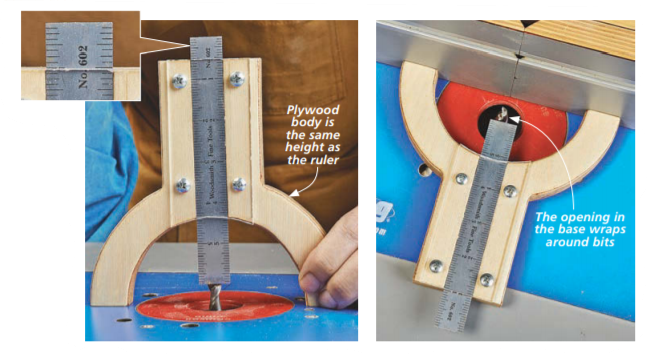
Shop-Made Setup Gauge
The beef I have with using a ruler to set up a router bit is that it’s nearly impossible to align sharp, curved edges with thin marks. This shop-made setup gauge solves those issues.
자를 사용하여 루터 비트를 셋팅하는 데 제가 가진 게이지로는 날카롭고 구부러진 비트 모서리를 맞추는 것이 거의 불가능하다는 것입니다. 이 핸드메이드 게이지는 이러한 문제를 해결합니다.
Are you tired of constantly having to bend over to check the height of a bit or blade with a metal rule, or having to squint to “eyeball” a measurement? Well just grab a scrap of plywood, and you can turn a standard 6" metal rule into the precision, easy-to-read set-up gauge.
철자로 비트나 톱날의 높이를 확인하기 위해 끊임없이 몸을 구부리거나 눈을 가늘게 뜨고 측정해야 하는 것에 지치십니까? 합판 조각만 가져오면 표준 6인치 철자를 정밀하고 읽기 쉬운 셋업 게이지로 바꿀 수 있습니다.
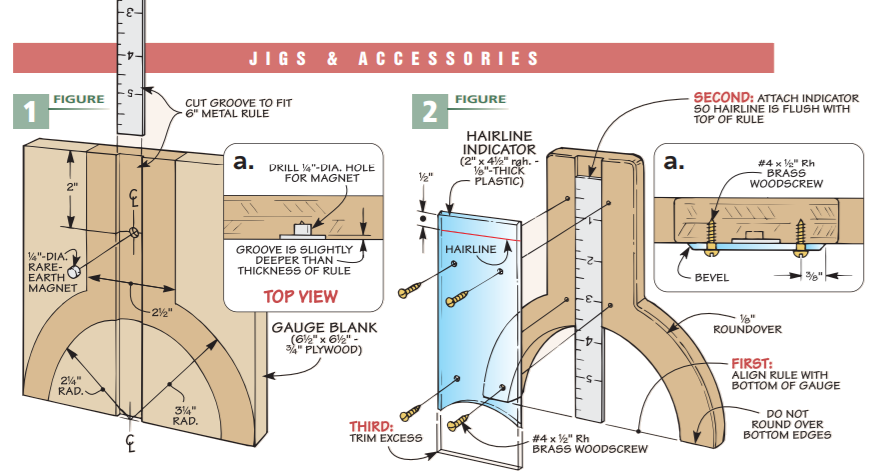
게이지 본체의 자석이 철자가 그냥 미끄러지지 않도록 잡아줍니다. 가는 선 표시는(0점) 철자의 측정값을 표시하거나 자의 길이에 맞게 게이지의 높이를 절단할 수 있습니다. 따라서 위에서 읽을 때 철자를 원하는 치수로 설정할 수 있습니다(사진 삽입). 그런 다음 펜스(조기대) 또는 루터 비트가 철자 끝에 닿을 때까지 조정할 수 있습니다.
