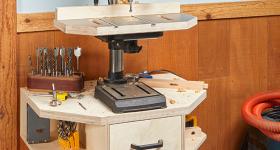
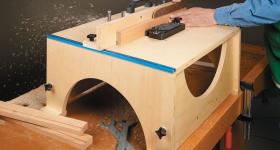
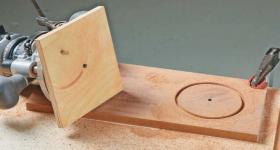
루터 테이블은 집진하기가 쉽지 않은 기계입니다.
여러가지 집진 방법이 있지만 사용하기 간편한 방법인것 같습니다.
Router Table Dust Hood
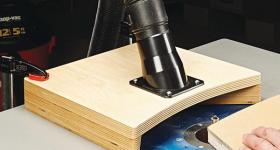
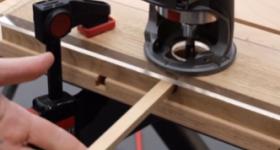
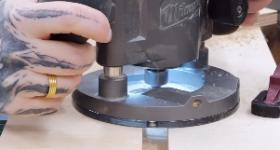
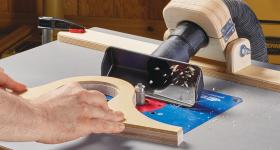
When using my router table, a hose from my dust collection system attached to my router table fence has always done a great job keeping the dust at bay in my shop. However, when my fence is removed for free-hand routing, I didn’t have an adequate way to capture all of the dust and chips. To solve that problem, I built the router table dust hood you see here.
루터 테이블 집진 후드
루터 테이블을 사용할 때, 펜스에 부착된 집진 시스템은 먼지를 잘 흡수해 줍니다. 하지만 펜스를 제거하여 프리핸드 라우팅을 할 때는 날리는 먼지와 칩을 잡을 적절한 방법이 없었습니다. 이 문제를 해결하기 위해 여기에 보이는 루터 테이블 집진 후드를 만들었습니다.
To use the dust hood, simply clamp it to the back edge of the router table. Position it so you have adequate clearance for your workpiece. The V-notch in the two lower layers directs the dust and chips towards the dust port.
집진 후드를 사용하려면 루터 테이블의 뒤쪽 가장자리에 간단히 고정합니다. 작업하는데 충분한 여유 공간이 있도록 위치를 조정합니다. 아래쪽 있는 V자 홈은 먼지와 칩을 빨아들이기 쉽게 합니다.
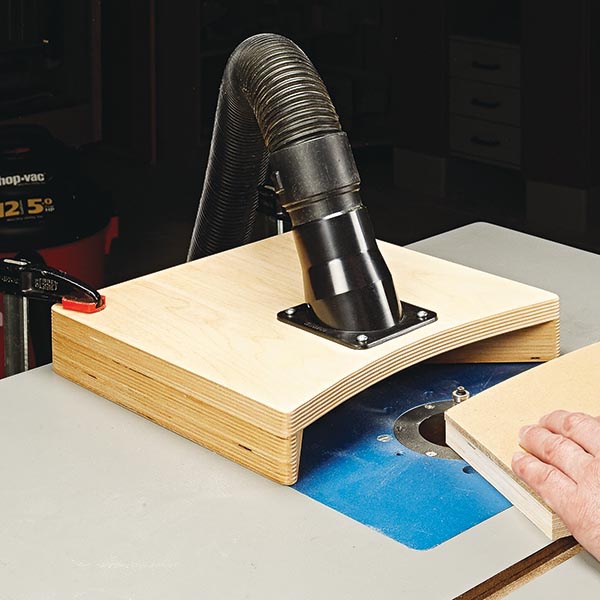
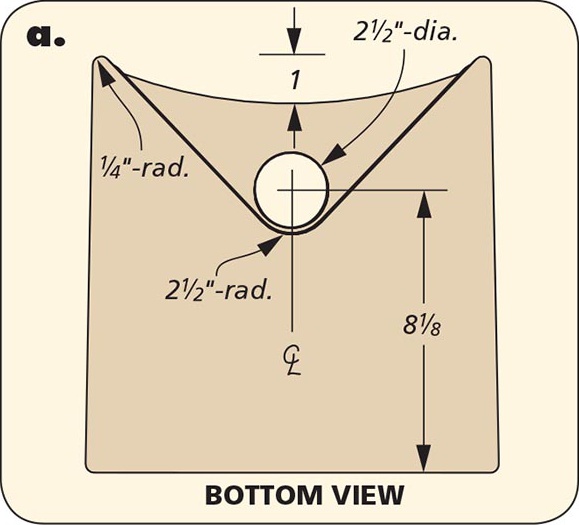
The hood is pretty simple. It consists of three layers of plywood. The lower two layers are glued together and then cut to shape. Cut the top to size in the same manner, noting that there is just a slight curve on the front edge of this piece. A hole drilled on the top accommodates the dust port. Now it’s just a matter of gluing the top to the lower layers and rounding all the corners with a disc sander.
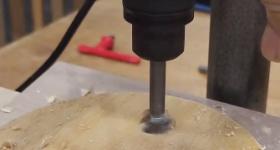
후드는 매우 간단합니다. 합판 3겹으로 구성되어 있습니다. 아래 두 겹은 접착한 다음 모양을 잘라냅니다. 윗부분도 같은 방식으로 크기에 맞게 잘라내며, 이 조각의 앞쪽 가장자리에 약간의 곡선이 있다는 점에 유의합니다. 윗부분에 뚫린 구멍은 먼지 포트를 수용합니다. 이제 윗부분을 아래 겹에 접착하고 디스크 샌더 로 모든 모서리를 둥글게 만드는 문제입니다 .
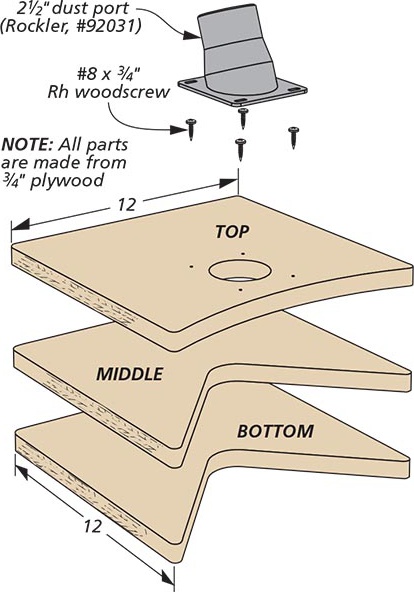
This detail from the bottom view shows added dimensions. You might have adjust the opening and dust ports for your system.
하단 뷰의 이 세부 사항은 추가된 치수를 보여줍니다. 시스템의 개구부와 먼지 포트를 조정해야 할 수도 있습니다.
