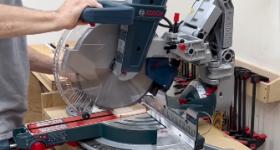
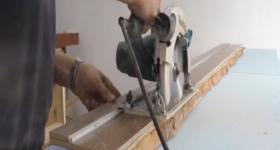
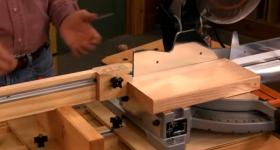
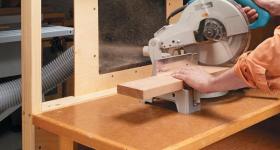
각도절단기는 보통 공방 내 벽면에 위치하기 마련이죠. 집진하기에도 까다로운 공구 중 하나입니다.
보조 테이블 세팅하려니 자연스럽게 벽 쪽에 붙는 게 당연한지도 모르겠지만 슬라이딩 기능이 있는 제품은 생각보다 뒤쪽으로 많은 공간이 필요합니다.
아예 이렇게 집진 시스템을 해 놓으면 굳이 벽면에 위치시키지 않아도 될 것 같습니다.
Miter Saw Dust Catcher
Collect dust & chips at the source with this shop-built add-on.
각도절단기 톱밥 집진기
이 제품군의 애드온으로 분진 & 칩을 원천적으로 수집하십시오.
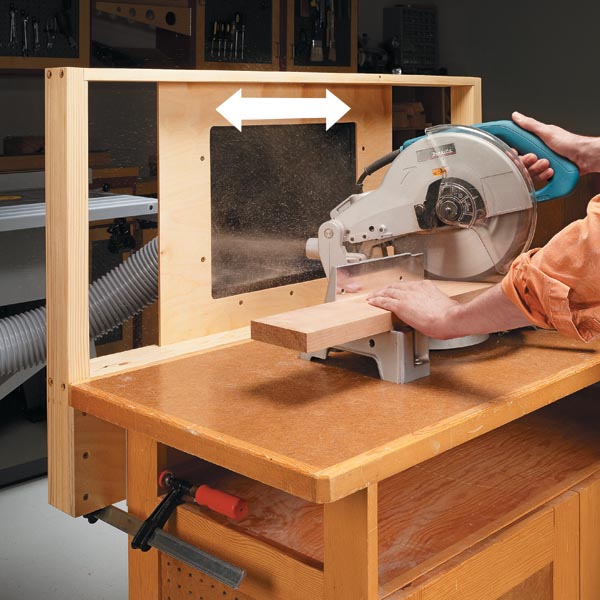
My miter saw sees a lot of use. Consequently the amount of sawdust it creates is overwhelming and it goes everywhere.
To help get some control over this problem, I built the sliding dust port you see here.
The key component in this system is the large dust port. It’s mounted to a plywood frame that slides in grooves in the surrounding frame’s rails. This way, you can move the port to catch the sawdust when mitering.
내 각도절단기는 쓸모가 많습니다. 결과적으로 톱밥의 양은 어마어마하고 어디든 갈 수 있습니다. 이 문제를 해결하기 위해 슬라이딩 더스트 포트를 구축했습니다. 이 시스템의 핵심 구성 요소는 대형 더스트 포트입니다. 합판 프레임에 장착되며, 주변 프레임 레일에 홈이 파여 있습니다. 이렇게 하면 배출되는 톱밥을 잡기 위해 포트를 이동할 수 있습니다.
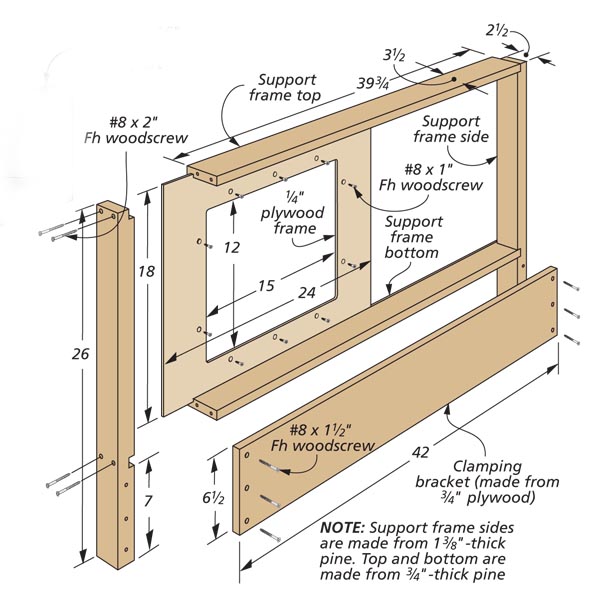
The drawings show how it’s all put together. The assembly is designed to bolt or clamp to the back of the miter saw station. It can be modified to suit your particular setup. I started the construction by making the outside support frame.
이 그림들은 모든 것이 어떻게 조립되었는지 보여줍니다. 이 어셈블리는 각도절단기 스테이션 후면에 볼트 또는 클램프로 고정되도록 설계되었습니다. 특정 설정에 맞게 수정할 수 있습니다. 나는 외부 지지 골조를 만드는 것으로 공사를 시작했습니다.
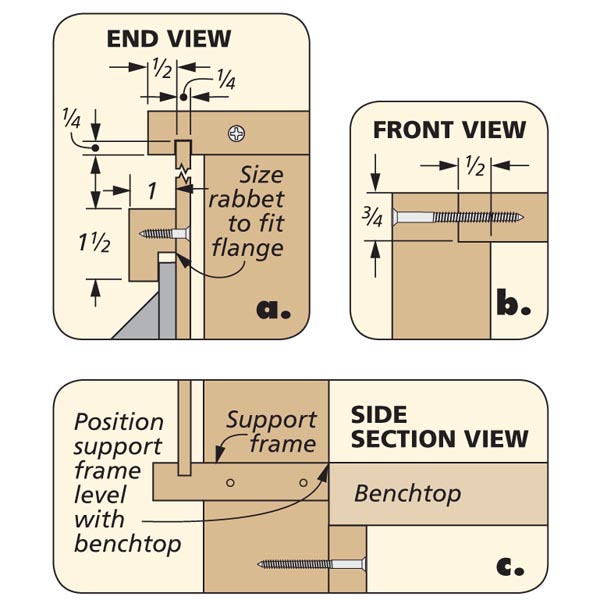
Grooves in the top and bottom pieces house a plywood dust port frame, as shown in details ‘a’ and ‘c.’ After assembling the frame, you can make the plywood frame to fit the dust port.
상단 및 하단 조각의 홈에는 'a' 및 'c'와 같이 합판 더스트 포트 프레임이 들어 있습니다. 프레임을 조립한 후 더스트 포트에 맞게 합판 프레임을 만들 수 있습니다.
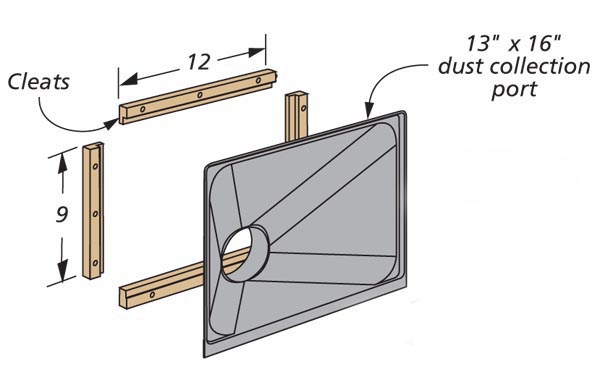
With the frame assembled, you can attach the large dust port to the plywood using a set of rabbeted cleats.
Now you can fasten the assembly to the station and get to work.
프레임을 조립한 상태에서 래벳 클릿 세트를 사용하여 합판에 대형 더스트 포트를 부착할 수 있습니다. 이제 조립체를 역에 고정하고 작업을 시작할 수 있습니다.


